JINGXING LIU
Project: Backflow Incense Cone Burner
This project is a personal project of study pyro system in Houdini
Reference
Something Different Wholesale, Bamboo Waterfall Backflow Incense Cone Burner, Video. Youtube, August 20, 2019, https://www.youtube.com/watch?v=ZdexCuHJ5Fg
Working Progress
Tutorial Possible Help:
[Pyro system] Dry Ice
https://www.youtube.com/watch?v=ibYKryjk-Vc
[Partical system] Particle introduction
May, 9, 2024 Update
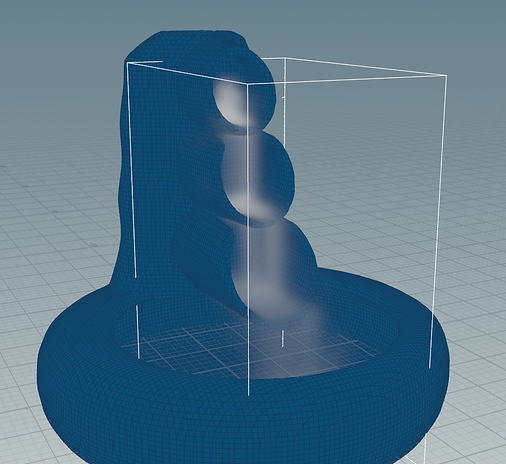
Following the tutorial, I tested the Pyro system. By adjusting the <Buoyancy Dir> attribute in the <pyro solver> node to negative, I make the smoke fall on the ground instead of floating up into the air. I decreased the <Dissipation> and <disturbance> to make the pyros live longer and not fly away too far from the path.

Then I tried to add collision to it. Even though the collision does hold the pyros and change its path, the pyros goes through the collision.

May, 10, 2024 Update
Before solving the collision problem I decide to mode the flame holder first. So that I can better play with collision

May, 13, 2024 Update
I searched on how to make a collision work and found that:
I need to use <Volume Collision> instead of <Solver Defult>. Then by turning off <Display Geometry> and turning on <Collision Guide> in <Static Object Node> I actually can see my collision.

Then I found that My Collision had a big hole. The subdivision of the collisions is too broad that it cannot identify the thin wall on the Collision object.

By changing Mode to <Volume Sample> and adjusting <Uniform Division> link the volume from Geometry to <Proxy Volume> I can get a more detailed collision. However, the simulation time also increased
After solving the the collision problem I quickly test with both pyro system and particle system


particle system


May, 16, 2024 Update
I found a shelf tool in <Legacy Pyro FX> called <Dry Ice> and decided to try it. Because my smoke is smooth I need to turn <Disturbance> <Shredding> <Turbulence> off but increase <Sharpening> for a clear shape. Also, increase <Viscosity> to keep the smoke together and have a feeling of sticky. I got a thin and clear shape successfully.
However, I found out, in the preview, the smoke is very thin and light. There's no doubt I can barely see the smoke in the rendered view.

After fighting with the attributes and still can't figure out how to make the smoke thick. I see this post online.

So I decide to cheat by increasing <Scatter Coefficient> in Redshift render. I got this result. It looks okay but not the same to what I want, so I will keep working on it.

May, 17, 2024 Update
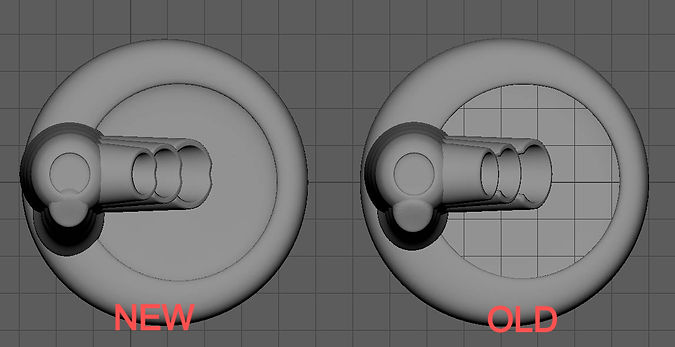
Changed the shape of the holder model.


Because I am confused with the setting of the Pyro Simulation I started testing with a single variable.


Viscosity: 2 Viscosity: 1 Viscosity: 0.5 Viscosity: 0.15


Partical Seperation: 0.02 Partical Seperation: 0.05 Partical Seperation: 0.1 Partical Seperation: 0.2
Tomorrow I am going to test :
1 Add temperature and Buoyancy Dir downward.
2 Separate 1 pyro simulation to 3 pyro simulations.
3 Run Flip simuation
May, 20, 2024 Update
Options 1 and 3 don't work at all. Option 2 kind of work
May, 26, 2024 Update
After getting the basic shape of the smoke, the next step is to figure out the wind. Refer to this video I learnt to add by <gas wind> and <gas field VOP>
<gas wind> is a single node that can add wind force to the pyro, but equally influence every part of the pyro.
<gas field VOP> I need to do more work. However, this way I can control different parts of the pyro by different attributes. For example, I use density to control velocity, with lower density it has a higher velocity. This will make the thicker smoke drop downward, at the same time the thinner smoke flies away.


Also, I noticed, there's smoke rushing to the outside of the container because of the collision. I don't want that. However, if I decrease its lifespan to solve this problem, I will make the fly-away smoke short and not as beautiful. Therefore I added another volume named it sink and made it "subtract" instead of "add". When the pyro reaches this new volume it disappears like it is sunken. And wouldn't give extra smoke.


